Year-Round Outdoor Living: Durable Deck Materials and All-Weather Fire Pit Ideas
Transforming your home through painting and carpentry can be deeply rewarding, but even small missteps can lead to frustration, wasted time, or costly repairs. Whether you’re refreshing a room with a new coat of paint or building custom shelving, the difference between amateurish and professional results often lies in the details. This article compiles eight pro tips across four critical areas of home improvement, distilling expert knowledge into actionable advice. From avoiding warped wood to achieving razor-sharp paint lines, these insights will help you tackle projects with confidence. Let’s dive into the techniques that separate successful DIYers from those who end up calling a handyman.
Master the Art of Preparation
Preparation is the unsung hero of lasting results. For painting, this means:
- Sanding surfaces to remove gloss and create adhesion.
- Filling cracks with spackling paste and smoothing with 220-grit sandpaper.
- Cleaning walls with a trisodium phosphate (TSP) solution to eliminate grease.
In carpentry, precise measurements prevent material waste. Always:
- Use a combination square for accurate 90-degree marks.
- Measure twice and account for blade kerf (the width removed by saw cuts).
- Dry-fit pieces before applying adhesives.
Select Materials Like a Pro
Paint quality matters: Cheap paint requires more coats and wears faster. Opt for acrylic-latex hybrids for durability. Always use primer on raw drywall or stained surfaces—it prevents bleed-through and improves adhesion.
Wood selection: Avoid warping by choosing kiln-dried lumber for indoor projects. For outdoor carpentry, pressure-treated wood or cedar resists rot. Invest in carbide-tipped saw blades—they stay sharp 10x longer than standard blades.
Perfect Your Application Techniques
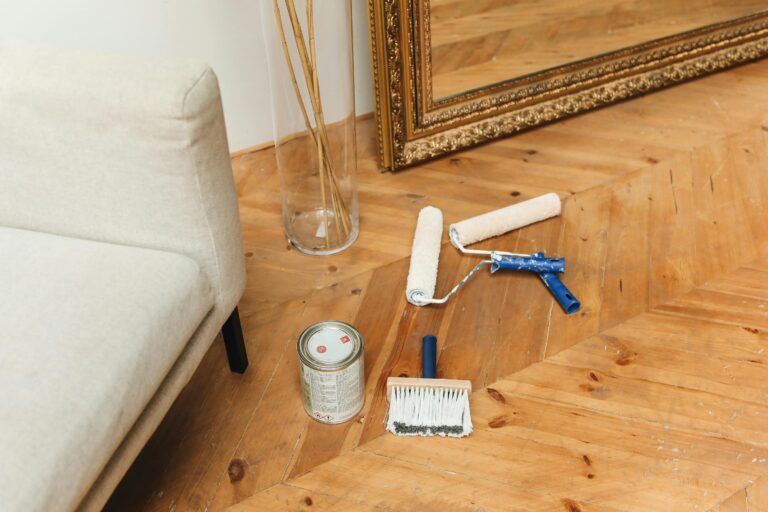
Painting: Use a 2.5-inch angled brush for “cutting in” edges. Load only the brush’s front half to minimize drips. For rollers, apply paint in a W pattern, then fill without lifting to avoid streaks.
Carpentry joins: Reinforce butt joints with dowels or pocket screws. For floating shelves, hide brackets by routing dado grooves into the shelf’s underside. Always clamp glued pieces for 24 hours—skipping this leads to weak bonds.
Finish Strong With Detail Work
Crisp paint lines: Apply painter’s tape, then seal it with a thin coat of existing wall color. Once dry, add your new color—this blocks bleeding. Remove tape when paint is dry to the touch but not fully cured.
Wood finishing: Sand progressively from 120-grit to 220-grit between coats. For a smooth seal, wipe surfaces with a tack cloth before applying polyurethane. Use a foam brush for varnish to eliminate bristle marks.
Conclusion
Great home improvement projects hinge on meticulous preparation, informed material choices, refined techniques, and patient finishing. Remember: Skipping primer or clamps might save an hour but cost years of durability. Keep these eight strategies in your toolkit—they’ll help you avoid the top pitfalls DIYers face. Before starting your next project, create a checklist from these tips. And when in doubt, slow down. As the adage goes, “Measure twice, cut once, paint once.”


