Top 10 Must-Have Tools for DIY Painting and Carpentry Projects | Essential Guide
Whether you’re refreshing a room with a new coat of paint or building custom shelving to maximize storage, mastering basic painting and carpentry skills can transform your home. These foundational DIY disciplines not only save money but also empower homeowners to create personalized, high-quality results. From selecting the right tools to perfecting finishing touches, attention to detail separates amateur projects from professional-grade work. This article dives into essential techniques and strategies to elevate your painting and carpentry projects, ensuring durability, aesthetics, and functionality.
Choosing the Right Materials and Tools
Quality materials are the backbone of any successful project. For painting, opt for acrylic-latex hybrid paints for interiors—they’re durable and low-VOC. Exteriors demand 100% acrylic paint for weather resistance. In carpentry, hardwoods like oak or maple suit furniture, while pine works for structural pieces. Invest in core tools:
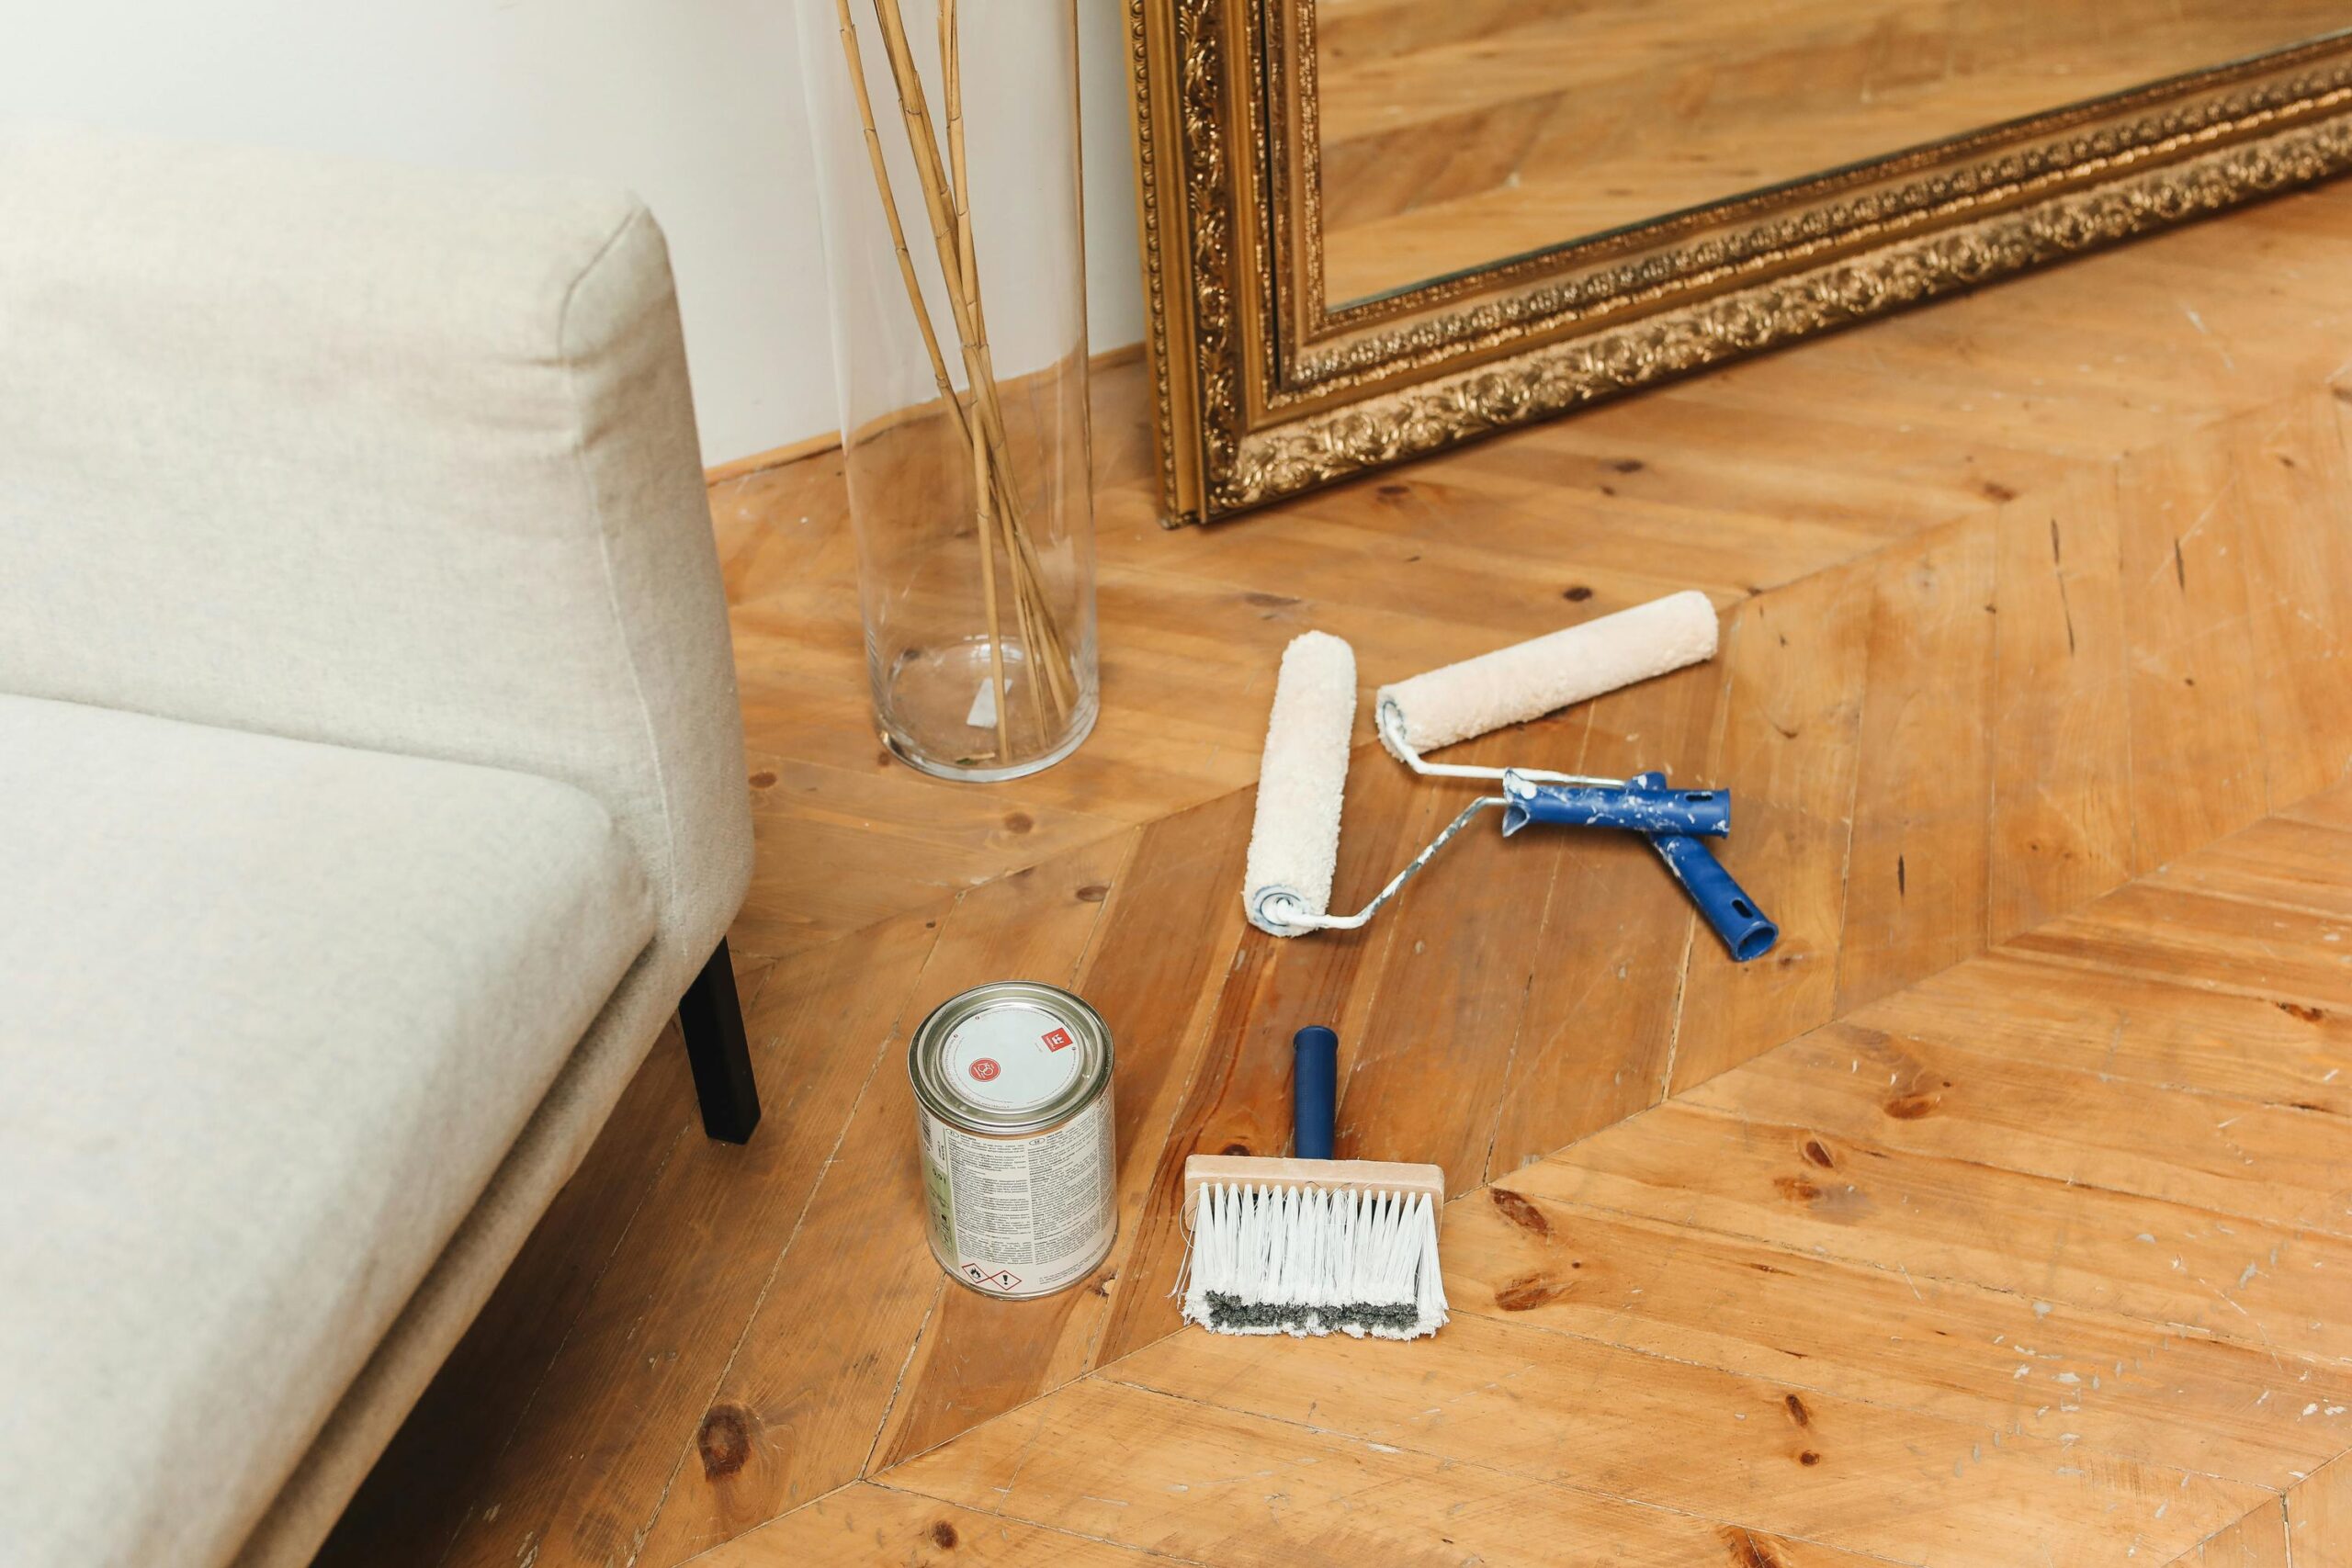
- Painting: Angled sash brushes, microfiber rollers, painter’s tape with Edge-Lock technology
- Carpentry: A cordless drill, orbital sander, combination square, and clamps
Pro Tip: Cheap brushes shed bristles—prioritize synthetic bristles for smooth finishes.
The Importance of Surface Preparation
Rushed prep leads to peeling paint or wobbly joints. For painting:
- Sand walls with 120-grit paper to remove gloss
- Fill cracks with spackle, then prime stains with oil-based primer
For carpentry:
- Joint wood with a planer to ensure flush edges
- Pre-drill screw holes to prevent wood splitting
Case Study: A poorly sanded dresser caused paint to chip within weeks—re-sanding and repainting doubled the project time.
Mastering Precision in Carpentry
Accurate measurements and cuts define professional results. Use these techniques:
- The 3-4-5 Rule: Ensure square corners by measuring 3 ft on one wall, 4 ft on the adjacent, and confirm the diagonal is 5 ft
- Dado Joints: Cut grooves into shelves for weight-bearing stability
Always account for wood expansion—leave 1/8” gaps between floorboards or panels. A laser level simplifies alignment for cabinetry or trim.
Advanced Painting Techniques for Flawless Results
Avoid brush marks and uneven coverage with these methods:
- Cutting In: Use a 2” angled brush to paint a 3” border along edges before rolling
- Wet Edge Technique: Maintain a “wet edge” by rolling toward unpainted areas, blending strokes seamlessly
For textured walls, use a 3/4” nap roller. Apply two thin coats instead of one thick coat to prevent drips.
Safety First: Protecting Yourself and Your Space
Safety is non-negotiable. Wear N95 masks when sanding lead-free paint or cutting MDF. Secure workpieces with clamps—never hold wood in one hand while cutting. For painting:
- Use drop cloths anchored with painter’s tape
- Ventilate rooms with fans pointing outward
By combining meticulous preparation, precision tools, and proven techniques, even beginners can achieve expert-level results. Start with a small project, like repainting a bathroom vanity or building a floating shelf, to build confidence. Remember: Patience and practice turn DIY aspirations into stunning, long-lasting improvements.