Outdoor Oasis: Integrating Fire Pits with Custom Deck Designs
Essential Painting and Carpentry Skills Every Homeowner Should Master
Owning a home means confronting constant upkeep and the desire for improvement. While professionals excel at complex tasks, mastering fundamental painting and carpentry skills empowers you to tackle everyday projects confidently, save significant money, and personalize your space on your terms. A fresh coat of paint revitalizes rooms instantly, while basic carpentry repairs maintain structural integrity and aesthetics. Beyond cost savings, DIY projects foster immense satisfaction and a deeper connection to your home. Understanding proper techniques prevents costly mistakes, ensures durability, and transforms intimidating repairs into manageable weekend tasks. Whether refreshing trim, patching drywall, or building simple shelving, these core skills are invaluable tools in every homeowner’s arsenal.
Surface Preparation: The Foundation of Flawless Finishes
Rushing into painting or repair without proper prep guarantees subpar results. For painting, this means:
- Cleaning: Remove grease, dust, and grime with TSP (trisodium phosphate) solution for optimal paint adhesion.
- Repairing: Fill nail holes, dents, and small cracks with spackling compound or joint compound. Sand smooth once dry.
- Sanding: Lightly sand glossy surfaces (previously painted trim, cabinets) with 120-150 grit sandpaper to create a “tooth” for the new paint. Always sand filler patches flush.
- Masking & Protecting: Use high-quality painter’s tape for sharp edges and drop cloths to protect floors and furniture. Don’t skip primer on bare wood, new drywall, or when making drastic color changes.
In carpentry, preparation involves ensuring materials are straight, dry, and cut accurately before assembly, and that repair areas are clean and free of debris or rot.
Mastering Paint Application Techniques
Choosing the right tools and methods elevates your paint job from amateur to professional-looking:
- Brush Selection & Use: Use angled sash brushes (1.5″-2.5″) for trim and cutting in. Load only the bottom third of the bristles, tap off excess, and apply with steady, overlapping strokes following the grain. Maintain a “wet edge” to avoid lap marks.
- Roller Mastery: Select the correct nap length (shorter for smooth walls, longer for textured surfaces). Roll paint in a “W” or “M” pattern, then fill in without lifting the roller, distributing paint evenly to prevent stipple marks. Keep consistent pressure.
- Spraying (Advanced): While efficient for large areas or intricate details, HVLP sprayers require significant masking, proper thinning, and technique to avoid overspray and drips. Practice on cardboard first.
- Multiple Coats: Apply two thin coats rather than one thick one. Sand lightly with 220-grit sandpaper between coats for an ultra-smooth finish.
Basic Carpentry: Measuring, Cutting, and Joining
Accurate measurement and secure joining are the cornerstones of sturdy carpentry work:
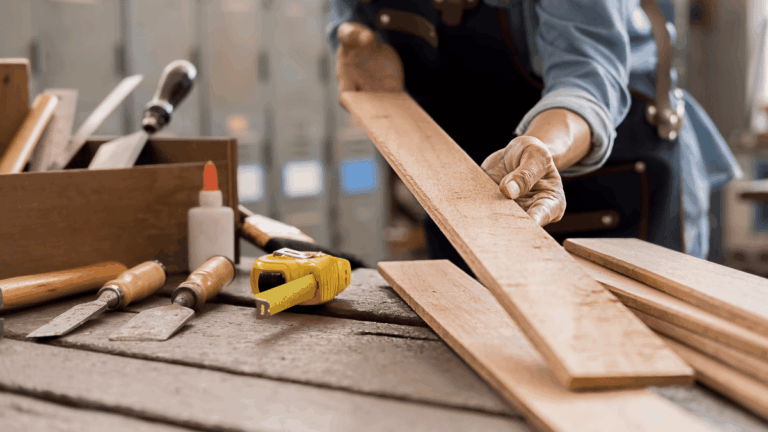
- Measuring Twice, Cutting Once: Use a sharp pencil and a reliable combination square or speed square for marking. A quality tape measure with a sturdy hook end is essential. Account for blade kerf (the width of the saw blade) when marking cut lines.
- Precise Cutting: For straight cuts, a miter saw is ideal for trim and framing lumber, while a circular saw with a guide works for sheet goods. A sharp handsaw suffices for smaller tasks. Always cut on the waste side of your mark.
- Fundamental Joinery:
- Nailing: Choose the right nail type and length. Drive nails slightly below the surface with a nail set for filling.
- Screwing: Pre-drill pilot holes in hardwoods and near ends to prevent splitting. Use countersink bits for flush finishes.
- Gluing: Apply wood glue sparingly to both surfaces, clamp firmly, and wipe excess squeeze-out immediately. Clamp time is crucial – follow glue manufacturer instructions.
- Pocket Holes: A pocket hole jig creates strong, hidden joints quickly for cabinets, face frames, and simple furniture.
Repairing Common Household Damage
Address minor damage promptly to prevent larger issues:
- Drywall Holes: Patch small holes (up to 1/2″) with spackle. For larger holes (up to 6″), use a self-adhesive mesh patch covered with joint compound, layered and feathered out. Sand smooth.
- Wood Rot: Cut out all soft, rotted wood back to solid material. Treat remaining wood with wood hardener/preservative. Fill small areas with epoxy wood filler. For larger repairs, splice in new wood (using scarf joints for strength), prime, and paint thoroughly.
- Squeaky Floors/Stairs: Locate the joist beneath the squeak. Drive trim-head screws or ring-shank nails through the flooring into the joist at an angle (countersink and fill holes). Lubricating between boards with powdered graphite can sometimes help.
- Loose Trim/Molding: Carefully remove the loose piece. Scrape off old adhesive/caulk. Apply fresh construction adhesive or wood glue to the back, reposition, and secure with finishing nails. Set nails and fill holes.
Conclusion: Build Confidence, One Project at a Time
Mastering essential painting and carpentry skills—meticulous surface preparation, precise paint application, accurate measuring and joining, and effective damage repair—transforms you from a passive homeowner into an empowered steward of your property. These competencies save money, prevent small problems from escalating, and provide the profound satisfaction of creating and maintaining your environment with your own hands. The key takeaway? Start small. Don’t begin with refinishing the entire kitchen. Practice cutting in paint on a closet door, patch a small drywall ding, or build a simple shelf. Each successful project builds confidence and hones your technique, laying the foundation for tackling increasingly ambitious improvements. Invest in a few quality tools, prioritize safety, and embrace the learning process. Your home—and your wallet—will thank you.