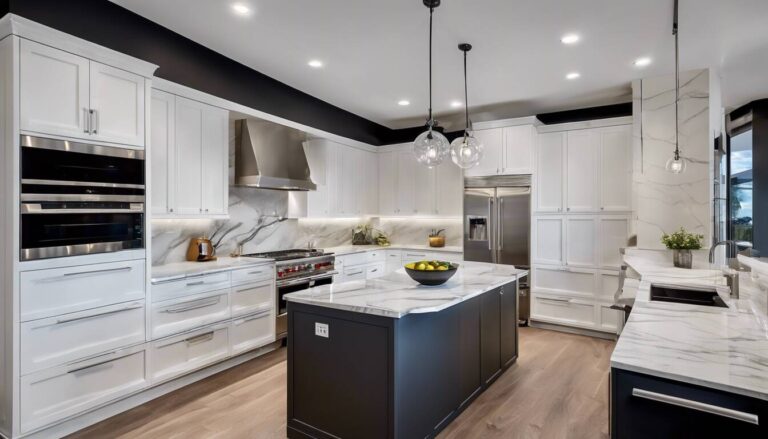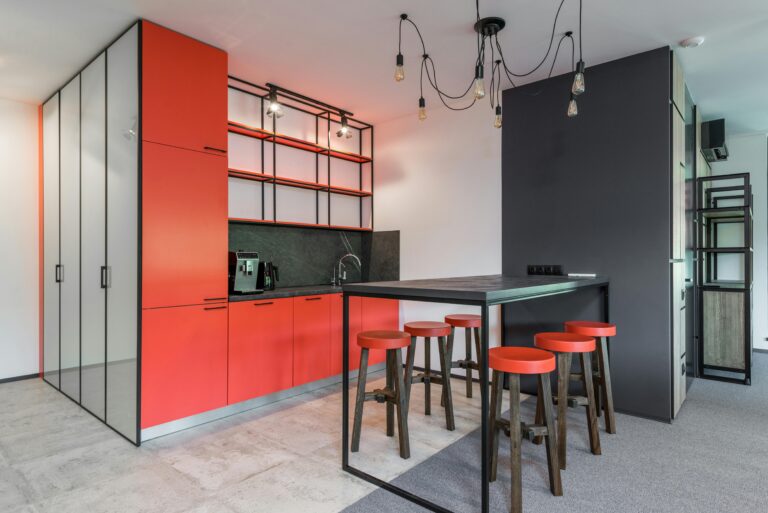
Maximizing Small Spaces: Creative Basement and Kitchen Remodel Solutions
8 Essential Painting and Carpentry Techniques Every Homeowner Should Master
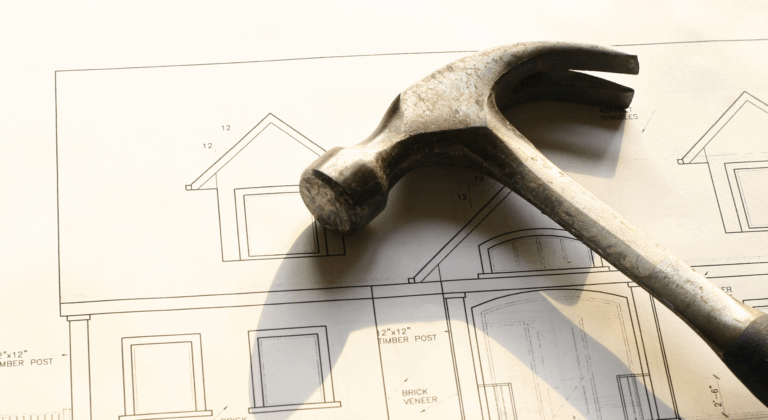
Whether you’re refreshing a room or tackling a custom carpentry project, mastering foundational techniques can save time, money, and frustration. Painting and carpentry are more than just “DIY tasks”—they’re skills that enhance your home’s aesthetics, functionality, and value. From avoiding brushstrokes that ruin a smooth finish to ensuring joints are sturdy and seamless, small details make a big difference. This article breaks down eight critical methods and best practices that bridge the gap between amateur efforts and professional-quality results. For homeowners and DIY enthusiasts, these insights will empower you to approach projects confidently, reduce mistakes, and achieve lasting outcomes. Let’s dive into the essentials that define success in home improvement.
Essential Tools for Every Project
Quality tools are the backbone of any successful project. For painting, invest in:
- Angled sash brushes (2-3 inches) for precise edges.
- A high-density foam roller to avoid lint streaks on walls.
- Painter’s tape designed for clean lines (e.g., FrogTape® Yellow for delicate surfaces).
In carpentry, prioritize:
- A combination square for accurate measurements.
- A cordless drill/driver with adjustable torque settings.
- Clamps to hold joints steady during glue-ups.
Pro Tip: Dull blades or worn brushes compromise results. Maintain tools by cleaning brushes thoroughly and sharpening blades regularly.
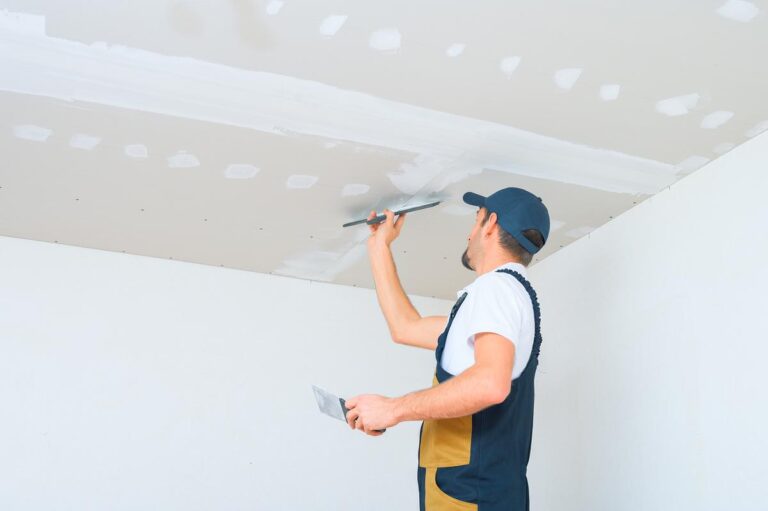
Surface Preparation: The Foundation of Success
Rushing prep work leads to peeling paint or wobbly joints. For painting:
- Sand walls with 120-150 grit paper to remove gloss and imperfections.
- Patch holes with lightweight spackle, then prime to seal stains.
- Wipe surfaces with a tack cloth to eliminate dust.
In carpentry:
- Ensure wood is dry and free of warping before cutting.
- Pre-drill holes to prevent splitting when driving screws.
- Use a chalk line for straight, visible guides on large projects.
Mastering Paint Application Techniques
Avoid common pitfalls like lap marks or uneven coverage:
- Cut in first: Paint edges with a brush before rolling to blend wet layers.
- Load rollers evenly—over-saturation causes drips.
- Maintain a “wet edge” by working in small sections and blending as you go.
For trim and cabinets:
- Use a mini foam roller for ultra-smooth finishes.
- Sand between coats with 220 grit paper to remove texture.
Carpentry Tips for Flawless Finishes
Precision is key in carpentry. Follow these steps:
- Measure twice, cut once—confirm dimensions before sawing.
- Use pocket-hole joinery for strong, hidden screws in furniture.
- Apply wood glue sparingly; excess can stain surfaces or weaken bonds.
- Finish edges with a router to create smooth, rounded profiles.
Maintaining Your Work for Longevity
Protect your efforts with routine care:
- Inspect painted surfaces annually for chips; touch up with leftover paint.
- Clean wood furniture with a microfiber cloth and beeswax polish.
- Tighten loose screws or hardware promptly to prevent structural stress.
Conclusion
Painting and carpentry are equal parts art and science. By investing in the right tools, prioritizing preparation, and refining application techniques, you’ll achieve results that rival professional work. Remember: patience pays off—sanding a surface thoroughly or letting glue dry completely ensures durability. A practical takeaway? Create a project checklist for each phase (tools, prep, execution, maintenance) to stay organized. Whether you’re repainting a bedroom or building a bookshelf, these eight principles will help you work smarter, not harder. Keep learning, stay curious, and let every project elevate your skills—and your home.