Energy-Efficient Roofing Solutions for a Sustainable Home Makeover
Transforming Your Home: Essential Tips for Seamless Painting and Carpentry Projects
Introduction
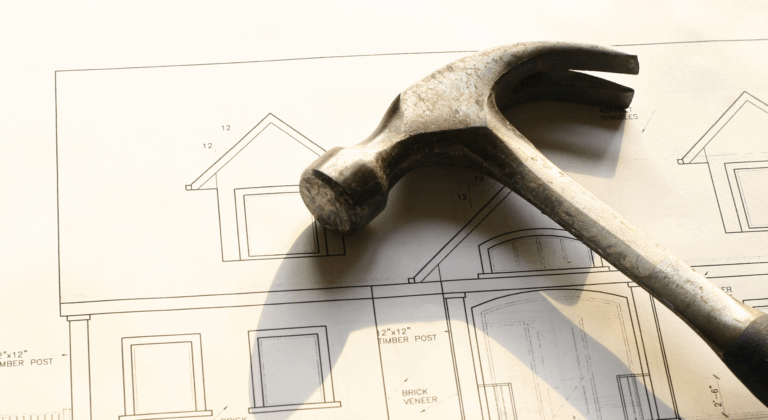
Home improvement is more than just a weekend hobby—it’s an investment in your living space’s comfort, functionality, and aesthetic appeal. Whether you’re refreshing a room with a new coat of paint or installing custom shelving, mastering the basics of painting and carpentry ensures professional-quality results. These skills not only save money but also empower homeowners to tackle projects with confidence. This article dives into practical strategies for blending painting and carpentry work, addressing common pitfalls and highlighting techniques that elevate DIY efforts. From surface preparation to finishing touches, you’ll learn how to harmonize these crafts for a cohesive, polished look that enhances your home’s value and charm.
1. Preparing Surfaces: The Foundation of Flawless Results
No project succeeds without proper preparation. For painting, this means cleaning walls, sanding uneven areas, and applying primer to ensure adhesion. Carpentry demands equal care: measure twice, cut once, and sand edges to avoid splinters. Key steps include:
- Filling cracks and holes with spackle or wood filler.
- Removing old paint or varnish using chemical strippers or sanders.
- Ensuring surfaces are dust-free before applying finishes.
Neglecting prep leads to peeling paint or misaligned joints. Invest time here to avoid costly fixes later.
2. Choosing the Right Tools and Materials
Quality tools make all the difference. For painting, opt for angled brushes for trim and rollers with the right nap thickness for your wall texture. In carpentry, a sharp chisel or a precise miter saw ensures clean cuts. Consider:
- Paint: Eggshell for durability in high-traffic areas; semi-gloss for trim.
- Wood: Use moisture-resistant MDF for bathrooms or hardwoods for longevity.
- Fasteners: Stainless steel nails or screws to prevent rust stains.
Cheap tools often compromise results—prioritize reliability over short-term savings.
3. Techniques for Professional-Grade Painting
A smooth finish hinges on technique. Start by “cutting in” edges with a brush before rolling larger sections. Maintain a wet edge to prevent lap marks, and apply thin, even coats. For carpentry accents like built-in shelves, use painter’s tape to protect wood during wall painting. Pro tips:
- Sand lightly between coats for a glass-like finish.
- Stir paint thoroughly to avoid uneven color distribution.
- Use extenders in humid climates to slow drying time.
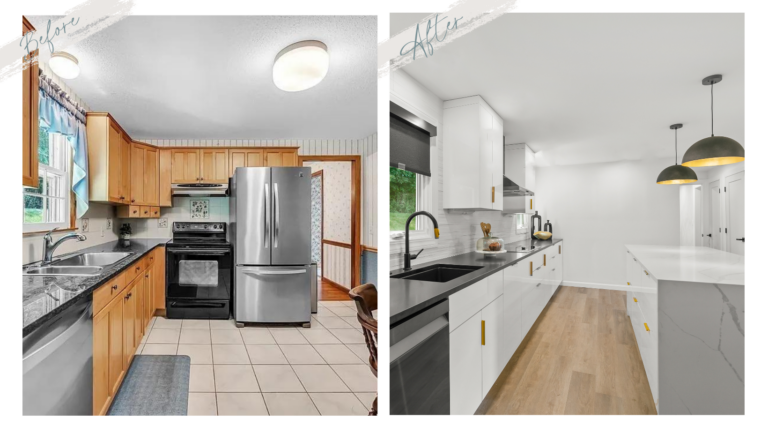
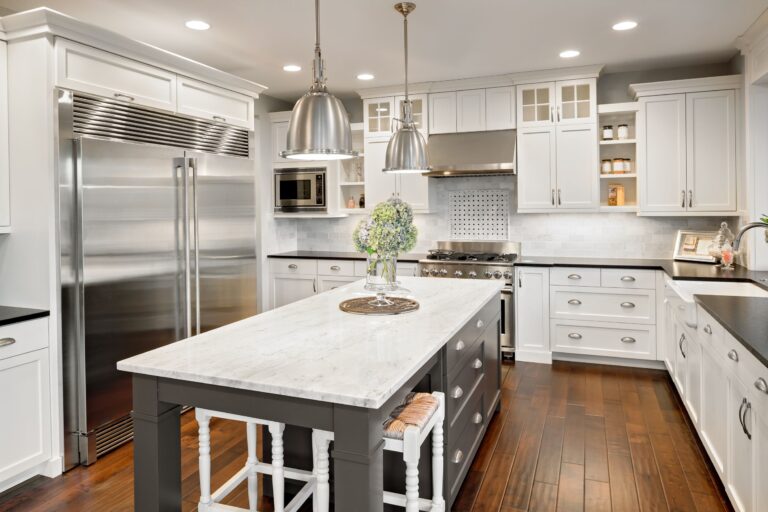
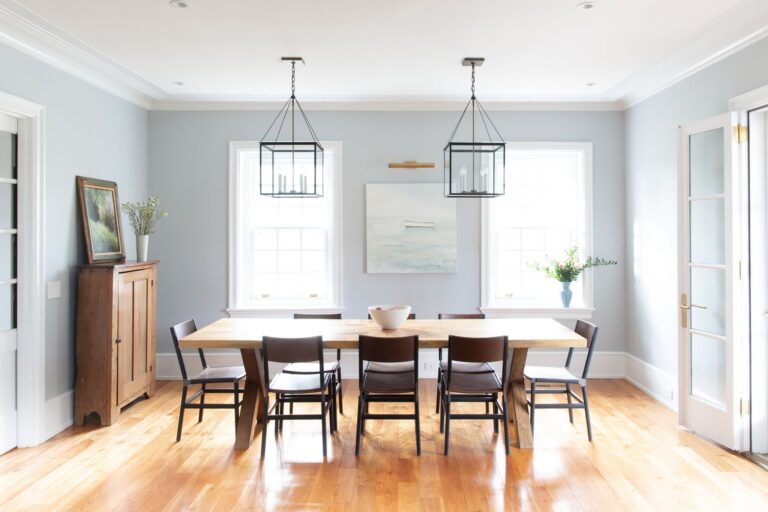
4. Integrating Carpentry Details for Visual Harmony
Carpentry elements like crown molding or wainscoting elevate painted spaces. Match wood stains to nearby furniture, or paint trim in a contrasting hue for drama. Case study: A homeowner paired sage-green walls with white shiplap, creating a rustic yet refined kitchen. Tips for cohesion:
- Align carpentry proportions with room size—bulky trim overwhelms small spaces.
- Use caulk to seal gaps between wood and walls for a seamless transition.
- Coordinate metallic finishes (e.g., cabinet hardware and light fixtures).
5. Finishing Strong: Protecting Your Work
Sealants and topcoats preserve your effort. Apply polyurethane to wooden surfaces to guard against scratches, and use mildew-resistant paint in bathrooms. For painted furniture, wax or lacquer adds durability. Regularly inspect caulking and touch up paint as needed to maintain freshness.
Conclusion
Successful home improvement blends meticulous preparation, quality materials, and disciplined technique. By aligning painting and carpentry workflows—from sanding walls to installing trim—you create spaces that feel intentional and refined. Remember: patience during prep and attention to detail during execution separate amateur efforts from professional outcomes. As a final takeaway, start small—refresh a single room’s trim or repaint cabinets—to build confidence before tackling larger projects. With these strategies, your home will not only look polished but also stand the test of time.