Preventive Maintenance for Wooden Structures: How to Extend Lifespan at Home
Introduction:
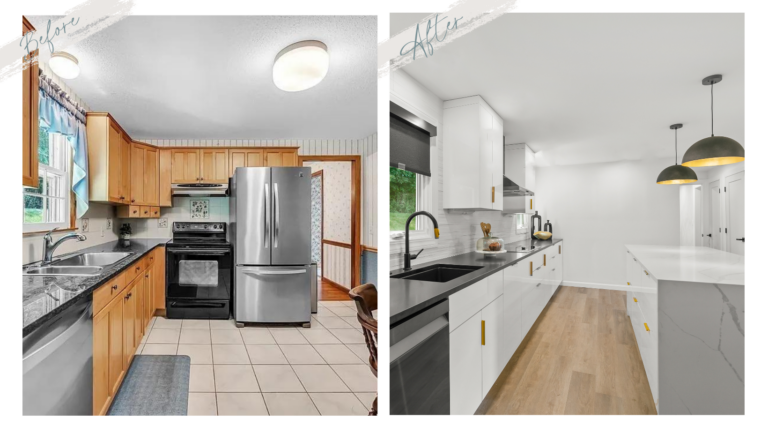
Home improvement projects—whether painting a room, building custom shelving, or renovating a kitchen—can transform your living space and boost your home’s value. However, without proper planning and execution, even simple tasks can become costly or time-consuming misadventures. This article focuses on eight essential strategies to help homeowners and DIY enthusiasts achieve professional-quality results. From selecting the right materials to mastering foundational carpentry techniques, these insights will empower you to tackle projects confidently while avoiding common pitfalls. Whether you’re refreshing a tired wall or constructing a built-in bookshelf, understanding these principles ensures efficiency, durability, and aesthetic appeal. Let’s dive into the practical skills and knowledge that separate successful renovations from half-finished disasters.
1. Strategic Planning: The Blueprint for Success
Every successful project starts with a clear plan. Begin by defining your goals: Are you prioritizing aesthetics, functionality, or both? Create a detailed checklist that includes:
- Budget breakdown (materials, tools, contingency funds)
- Timeline with milestones
- Measurements and sketches (use apps like SketchUp for 3D visualization)
Example: Painting a bedroom isn’t just about buying paint—factor in primer, sandpaper, drop cloths, and drying time. For carpentry projects like building a deck, check local building codes to avoid compliance issues.
2. Choosing Materials Wisely: Quality Over Convenience
Cutting corners on materials often leads to regret. Follow these guidelines:
- Paint: Opt for washable, low-VOC options in high-traffic areas. Eggshell finishes work well for walls; semi-gloss suits trim.
- Wood: Use pressure-treated lumber for outdoor projects and hardwood (like oak) for indoor furniture.
- Fasteners: Match screws and nails to the material (e.g., stainless steel for damp environments).
Case Study: A homeowner used interior-grade plywood for a bathroom vanity—it warped within months. Switching to marine-grade plywood solved the issue.
3. Mastering Core Techniques: Painting and Carpentry Basics
Painting Like a Pro:
- Prep surfaces by cleaning, sanding, and patching holes.
- Use angled brushes for edges and rollers with extendable poles for ceilings.
- Apply paint in a “W” pattern for even coverage.
Carpentry Fundamentals:
- Measure twice, cut once—verify dimensions with a laser level.
- Pre-drill holes to prevent wood splitting.
- Clamp pieces securely before joining them.
4. Avoiding Common Mistakes: Lessons from the Trenches
Even seasoned DIYers make errors. Steer clear of these traps:
- Skipping Primer: Unprimed walls absorb paint unevenly, requiring extra coats.
- Ignoring Moisture: Painting over damp surfaces causes peeling.
- Overloading Circuits: Installing built-in lighting? Consult an electrician to avoid fire hazards.
Real-Life Fix: A rushed cabinet installation left gaps between units. The solution? Using shims to level the frames before securing them.
Conclusion:
Successful home improvement hinges on meticulous planning, quality materials, and practiced techniques. By budgeting wisely, selecting durable supplies, and honing foundational skills, you’ll achieve results that look professional and stand the test of time. Remember: Patience is key—allow paint to dry fully between coats, and double-check measurements before making cuts. For your next project, start small (like repainting a dresser) to build confidence before tackling larger renovations. Keep learning from each endeavor, and soon, you’ll transform your home with the precision of a seasoned expert. Happy renovating!


