Year-Round Outdoor Living: Durable Deck Materials and All-Weather Fire Pit Ideas
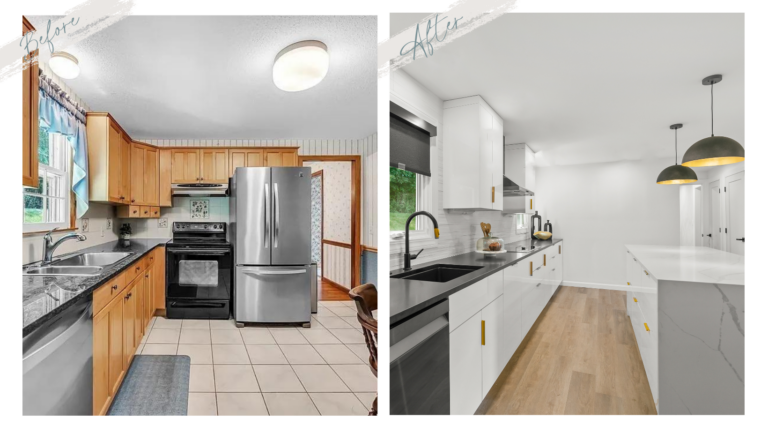
Your home is more than just a structure; it’s a canvas waiting for transformation. While painting and carpentry are often viewed as separate disciplines, their synergy unlocks unparalleled potential for revitalizing spaces. A fresh coat of paint can feel superficial without addressing underlying structural flaws, while impeccable woodwork loses impact without thoughtful color and finish. This dynamic duo addresses both form and function—carpentry repairs bones, reshapes layouts, and adds custom features, while painting enhances aesthetics, protects surfaces, and sets the mood. For homeowners and DIYers, mastering this intersection means elevating projects from quick fixes to lasting investments. Whether refreshing a room or tackling a renovation, integrating these skills ensures cohesive, professional results that boost both beauty and value.
The Foundation: Why Carpentry Comes First
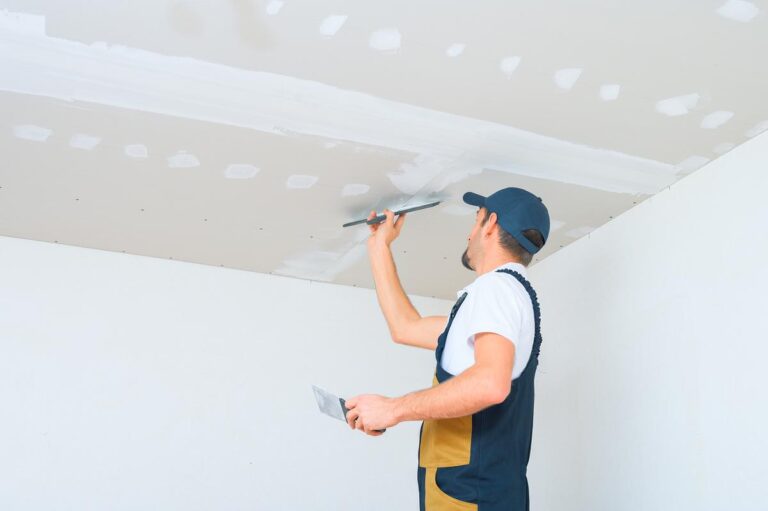
Before a drop of paint touches your walls, carpentry lays the critical groundwork. Ignoring structural or surface imperfections guarantees paint will highlight flaws, not hide them. Start with a thorough inspection: probe for rotten window sills, warped baseboards, or cracked door frames. Use wood filler or epoxy for minor dents, but replace severely damaged sections entirely. For drywall, patch holes with joint compound and sand smooth. Ensure all trim is securely nailed—loose pieces cause paint to chip prematurely. This phase demands patience, but meticulous prep prevents recurring issues. Remember: paint is only as durable as the surface it adheres to. Investing time here saves costly repaints later.
Material Synergy: Wood, Primers, and Paint Chemistry
Material compatibility dictates longevity. Softwoods like pine absorb paint unevenly, requiring oil-based primer to seal knots and prevent “bleed-through.” Hardwoods (oak, maple) need sanding to 120-grit for adhesion. Key considerations:
- Moisture-prone areas (bathrooms, kitchens): Use water-resistant MDF or PVC trim paired with acrylic-latex paint.
- Exterior projects: Cedar or redwood naturally resists decay; pair with elastomeric paint for flexibility against temperature shifts.
- Eco-friendly options: Low-VOC paints prevent off-gassing, ideal over formaldehyde-free plywood.
Always prime raw wood—it blocks stains and reduces topcoat layers. For previously painted surfaces, sand lightly and use adhesion-promoting primer.
Technique Fusion: Precision in Application
Blending carpentry finesse with painting discipline elevates results. For trim:
- Miter cuts: Use a 10-inch power miter saw for 45° joints; fill gaps with paintable caulk before coating.
- Brush selection: Angular synthetic brushes (2–2.5 inches) navigate corners better than straight edges.
When painting cabinets, remove doors/drawers to sand flat. Apply paint in thin, even layers with a foam roller, sanding lightly between coats. For walls, “cut in” edges first with a brush, then roll in overlapping W-patterns. Pro tip: Maintain a “wet edge” to avoid lap marks—work in 3×3-foot sections without pausing.
Transformative Projects: Where Skills Collide
Unite carpentry and painting in these high-impact upgrades:
- Wainscoting: Install chair rail molding and raised panels (pre-primed MDF recommended), then paint the lower half a bold hue for depth.
- Built-in shelving: Construct shelves with adjustable brackets; paint the back wall a contrasting color before mounting for dramatic pop.
- Accent walls: Frame a section with 1×4 pine boards to create dimension, then fill with textured plaster or dark matte paint.
Case Study: A Brooklyn loft transformed drab drywall by adding floor-to-ceiling shiplap (carpentry), then using chalk paint and dark wax (painting) for a rustic-industrial vibe. Total cost: under $300.
Revitalizing your home hinges on harmonizing structure and surface. Begin with carpentry to ensure integrity—fix flaws, choose durable materials, and craft with precision. Then, amplify with paint through chemistry-savvy priming and methodical application. This tandem approach turns fleeting updates into enduring enhancements. Start small: repair a window sill, sand meticulously, prime, and paint. Notice how the repair disappears into a flawless finish. That’s the synergy in action. Your home isn’t just refreshed; it’s reimagined with purpose and skill. Remember: Great spaces aren’t painted or built—they’re engineered through layered expertise.

