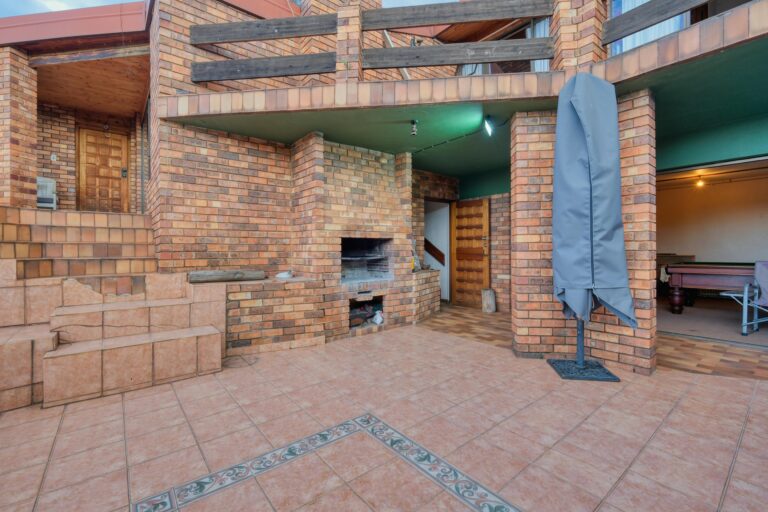
Designing Multi-Functional Basement Layouts for Modern Living
Achieving a Professional Finish: Painting Techniques That Elevate Your DIY Projects
Nothing revitalizes a home like a fresh coat of paint, but the difference between an amateurish splotch-fest and a flawless, magazine-worthy finish lies in technique, not luck. For DIYers tackling walls, trim, or furniture, mastering professional painting methods transforms frustration into pride and significantly boosts your home’s value and appeal. A sloppy paint job highlights imperfections and chips prematurely, while a smooth, even finish looks expensive and lasts for years. This guide cuts through the noise, focusing on the core techniques used by seasoned painters. Whether you’re refreshing a bedroom or upgrading kitchen cabinets, these practical, actionable strategies will empower you to achieve stunning, durable results that look like you hired a pro – without the premium price tag.
Preparation: The Non-Negotiable Foundation
Professional painters often say prep work accounts for 80% of a successful paint job – and they’re right. Skipping this step guarantees visible flaws. Begin by removing furniture or covering it completely with plastic sheeting, not cloth drop cloths which absorb spills. Protect floors with rosin paper taped at seams. Next, address the surface:
- Clean Thoroughly: Wash walls with a TSP (trisodium phosphate) solution or degreaser to remove dirt, grease, and grime that prevent adhesion. Rinse and dry completely.
- Repair Imperfections: Fill nail holes, cracks, and dents with lightweight spackling. For larger drywall damage, use setting-type joint compound. Sand all repairs smooth with 120-150 grit sandpaper once dry.
- Sand Glossy Surfaces & Existing Paint: Lightly sand all surfaces (including previously painted ones) with 220 grit paper to create a “tooth” for better paint grip. Wipe away dust with a tack cloth.
- Prime Strategically: Apply a stain-blocking primer over repairs, water stains, or knots in wood. Use bonding primer on slick surfaces like laminate or glossy enamel. Priming ensures uniform color and sheen.
Tool Selection: Your Secret Weapon
Using cheap rollers or the wrong brush guarantees streaks and frustration. Invest wisely:
- Brushes: Choose synthetic bristles (nylon/polyester) for water-based latex paints and natural bristles (China bristle) for oil-based paints. For cutting-in ceilings and trim, a high-quality 2-2.5 inch angled sash brush offers superior control. Purdy or Wooster are reliable brands.
- Rollers: The nap thickness matters! Use a shorter nap (1/4″ to 3/8″) for smooth walls and trim, and a longer nap (1/2″ to 3/4″) for textured surfaces like stucco. Microfiber or high-density foam rollers deliver the smoothest finish on cabinets or doors.
- Paint Quality: Premium paints (e.g., Benjamin Moore Regal, Sherwin-Williams Emerald) have higher pigment levels and better binders, resulting in better coverage, easier application, superior flow/leveling, and enhanced durability. Don’t cheap out here.
Mastering Cutting-In and Rolling Technique
This is where finesse separates pros from amateurs. Avoid painter’s tape for edges whenever possible for a crisper line.
- Cutting-In Like a Pro: Load the top third of your angled brush bristles. Start about 1/8 inch away from the edge (ceiling, trim, corner). Use smooth, steady strokes, gradually easing the brush towards the edge as you move. Maintain a wet edge by working in manageable sections (3-4 feet). Reload brush frequently.
- Rolling for Perfection: Saturate the roller cover evenly in the tray, then roll off excess paint on the tray ramp to avoid drips. Apply paint in a slightly overlapping “W” or “M” pattern without lifting the roller, then fill in the shape without pressing too hard. Maintain a wet edge by rolling back into the previous section before it dries. Roll from dry areas back into wet paint to minimize lap marks. Always roll wall sections top to bottom in one continuous motion.
Advanced Application & Troubleshooting
Fine-tuning your approach prevents common pitfalls:
- Environment Matters: Paint between 50°F – 85°F (10°C – 30°C) with low humidity. High humidity slows drying, causing runs; low temps prevent proper film formation.
- Multiple Coats are Mandatory: Apply two thin coats, not one thick one. Thin coats dry faster, level better, and are less prone to sagging. Sand lightly with 220 grit between coats for ultra-smoothness (especially critical for trim/cabinets). Wait the full recoat time specified on the can.
- Avoiding Common Disasters:
- Lap Marks: Caused by rolling over partially dried paint. Keep a wet edge and work quickly.
- Roller Stipple/Texture: Caused by using too long a nap, over-rolling, or paint drying too fast. Use correct nap, maintain wet edge, and apply adequate paint.
- Brush Marks: Overworking the paint or using a cheap brush. Load brush correctly, apply with confident strokes, and don’t go back over semi-dried paint.
- Finishing Strong: On critical surfaces like doors, apply the final coat by brushing or rolling in the direction of the wood grain or paneling for a factory-like appearance.
Conclusion: Your Path to Painting Confidence
Achieving a professional-looking paint finish hinges on meticulous preparation, quality tools, and refined application techniques. Remember, surface repair, cleaning, and priming are non-negotiable foundations. Investing in the right brushes and rollers tailored to your paint and surface makes application smoother and results more consistent. Mastering the art of cutting-in without tape and rolling with the “W” pattern while maintaining a wet edge eliminates streaks and lap marks. Finally, respecting environmental conditions, applying multiple thin coats, and sanding between layers ensure unparalleled smoothness and durability. Your practical takeaway? Before tackling a large, visible wall, practice cutting-in and rolling techniques on a scrap piece of drywall or an inconspicuous closet wall. This hands-on rehearsal builds muscle memory and confidence, transforming your next DIY painting project from daunting to deeply rewarding, yielding results that truly look like they were done by a master.


